Paneer Franky recipe:
06, January 2026. By -Kaushik
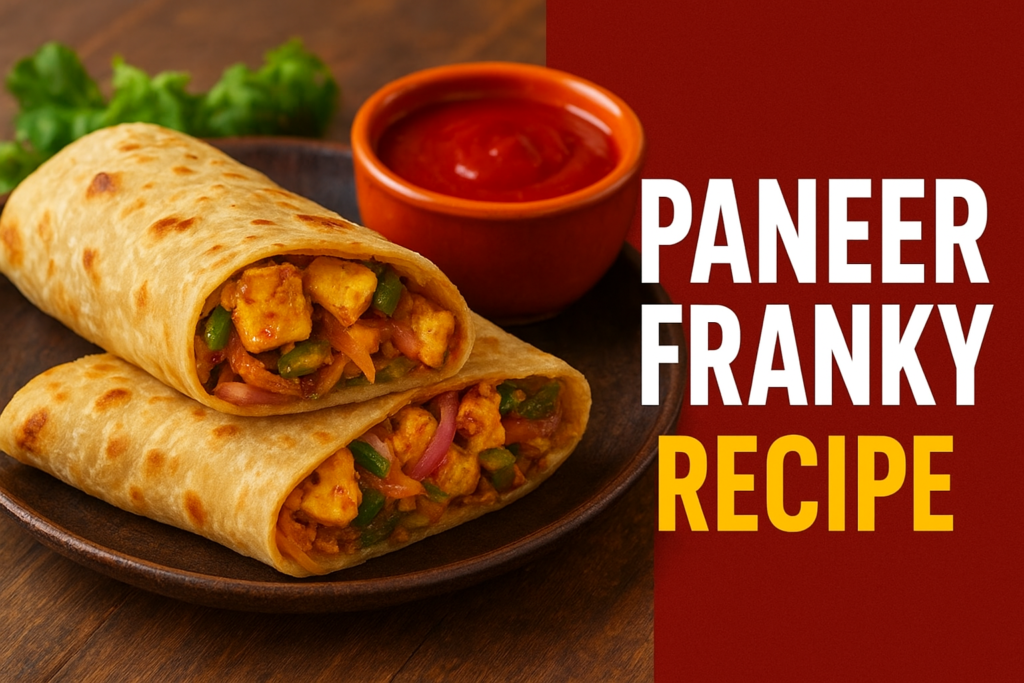
If you’ve ever walked through the bustling streets of Mumbai, the aroma of a sizzling Paneer Frankie is impossible to ignore. Also known as a Paneer Kathi Roll, this iconic Indian street food features spicy, marinated paneer cubes wrapped in a soft roti, layered with tangy chutneys, crunchy onions, and a special spice mix.
Whether you’re looking for a quick weeknight dinner or a kid-friendly lunchbox idea, this recipe brings that authentic street-side flavor right into your kitchen.
Ingredients
For the Paneer Stuffing:
Paneer: 200g (cut into small cubes or strips)
Ginger-Garlic Paste: 1 tsp
Spices: ½ tsp Turmeric, 1 tsp Red Chili Powder, 1 tsp Garam Masala
Yogurt: 2 tbsp (to keep the paneer moist)
Oil: 1 tbsp
For the Frankie Wrap:
Flour: 1 cup All-purpose flour (Maida) or Whole Wheat flour (Aata)
Butter/Oil: For cooking the wraps
For the Assembly:
Green Chutney: Mint and coriander dip
Onions: 1 large, thinly sliced
Vinegar Chillies: Chopped green chillies soaked in 2 tbsp vinegar
Frankie Masala: A mix of Chaat Masala and Roasted Cumin powder
Paneer Frankie Banane Ki Vidhi (Step-by-Step)
Follow these 10 simple steps to achieve the perfect roll every time.
Step 1: Prepare the Dough
Start by kneading a soft, pliable dough. Take 1 cup of flour, a pinch of salt, and a teaspoon of oil. Gradually add water and knead until smooth. Cover with a damp cloth and let it rest for at least 20 minutes. Resting the dough ensures the rotis are soft and easy to roll.
Step 2: Marinate the Paneer
In a mixing bowl, combine the yogurt, ginger-garlic paste, red chili powder, turmeric, and garam masala. Add the paneer cubes and toss gently until they are well-coated. Let this sit for 10–15 minutes to allow the flavors to penetrate the paneer.
Step 3: Sauté the Filling
Heat 1 tablespoon of oil in a non-stick pan. Add the marinated paneer. Sauté on medium-high heat for 4–5 minutes until the paneer is slightly golden and the moisture from the yogurt has evaporated. Keep it aside.
Step 4: Make the Vinegar Chillies
This is the “secret ingredient” of street vendors. Soak finely chopped green chillies in vinegar with a pinch of salt. This adds that signature tang and sharp heat to the Frankie.
Step 5: Roll the Rotis
Divide the rested dough into equal-sized balls. Roll them out into thin, circular rotis. They should be slightly larger than your average chapati.
Step 6: Half-Cook the Wraps
Place the roti on a hot tawa (griddle). Cook it for just 30 seconds on each side until small bubbles appear. Do not brown them fully yet; we will do a final toast later.
Step 7: Final Toasting
When you are ready to serve, take a half-cooked roti and apply a little butter or oil on the tawa. Toast it until golden brown spots appear on both sides. This ensures the wrap is crispy yet soft.
Step 8: Apply the Spreads
Place the hot roti on a clean surface. Spread a generous tablespoon of spicy green chutney in the center. If you like it creamy, you can also add a smear of mayonnaise or schezwan sauce at this stage.
Step 9: Layer the Stuffing
Place a portion of the sautéed paneer in a line down the center. Top it with plenty of sliced onions, a drizzle of the prepared chili-vinegar, and a heavy sprinkle of Frankie Masala (or Chaat Masala).
Step 10: Roll and Serve
Fold the bottom of the roti slightly upward, then roll it tightly from one side to the other. Wrap the bottom half in parchment paper or aluminum foil to hold it together. Serve immediately while hot!
Pro-Tips for the Best Frankie
Soft Paneer: If your paneer is frozen, soak it in warm water for 10 minutes before marinating to keep it soft.
The Wrap: For a healthier version, use 50% wheat flour and 50% maida. It provides a good balance of nutrition and texture.
Crunch Factor: Always add the onions last so they maintain their crunch against the soft paneer.
Disclaimer:
All content on this food blog is for informational purposes only. Recipes, tips, and nutritional information are based on personal experience and research and are not a substitute for professional medical or dietary advice. Results may vary, and readers should consider allergies, health conditions, and individual needs before trying any recipe. The blog owner is not responsible for any outcomes resulting from the use of this information.