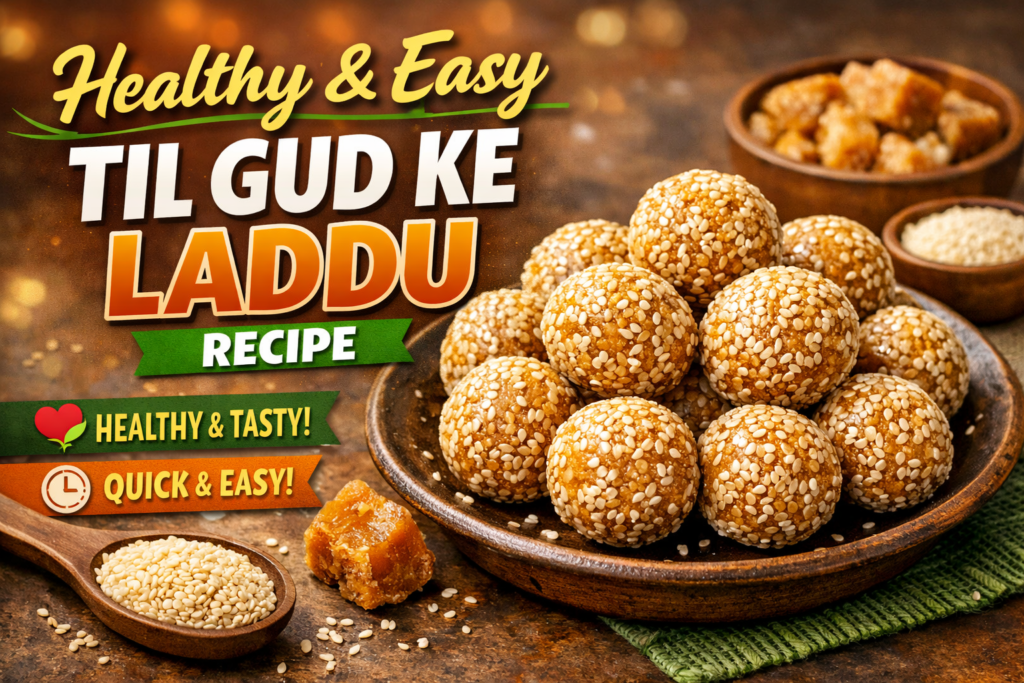
Healthy & Easy Til Gud Ke Laddu Recipe: Traditional Makar Sankranti Special
11, January 2026. By -Kaushik
When the winter winds blow and the festival of Makar Sankranti approaches, Indian households are filled with the nutty aroma of roasted sesame seeds and the earthy sweetness of melting jaggery. Til Gud Ke Laddu (Sesame Jaggery Balls) are more than just a sweet; they are a symbol of warmth, health, and togetherness.
In this guide, we will walk you through a foolproof method to make soft, yet crunchy laddus that won’t get rock-hard—a common struggle for many beginners.
Why Til Gud Laddu is a Winter Superfood
Before we jump into the banane ki vidhi, let’s look at why these are essential for your health:
Sesame Seeds (Til): Rich in calcium, magnesium, and healthy fats.
Jaggery (Gud): A natural detoxifier and great source of iron.
Energy Boost: Perfect for fighting the winter chill and fatigue.
Ingredients Checklist
Ingredient Quantity
White Sesame Seeds (Til) 2 cups (approx. 250g)
Jaggery (Gud), chopped or grated 1.5 cups
Ghee (Clarified Butter) 2 tsp
Peanuts (roasted & crushed) 1/4 cup (optional for crunch)
Cardamom Powder (Elaichi) 1/2 tsp
Water 2 tbsp
Step-by-Step Banane Ki Vidhi (Preparation Method)
Follow these 10 precise steps to ensure your laddus turn out perfect every single time.
1. Cleaning the Sesame Seeds
Start by cleaning the white sesame seeds to remove any stones or grit. Use unpolished sesame seeds if possible, as they have more nutritional value and a deeper flavor.
2. Dry Roasting the Til
Place a heavy-bottomed pan (kadai) on low-medium flame. Add the sesame seeds and roast them continuously. Pro-tip: Roast until they become slightly plump and start to “pop” or crackle. This usually takes 4–5 minutes. Do not over-brown them, or they will taste bitter.
3. Cooling the Roasted Seeds
Immediately transfer the roasted seeds to a wide plate. If you leave them in the hot pan, they will continue to cook and burn. Let them cool down to room temperature.
4. Preparing the Peanuts (Optional)
In the same pan, roast the peanuts until the skin peels off easily. Crush them coarsely. Adding peanuts gives the Til Gud Laddu a wonderful texture and additional protein.
5. Melting the Jaggery
In the same kadai, add 1 tsp of ghee and the grated jaggery. Add 2 tablespoons of water. Adding water helps in melting the jaggery evenly without burning it. Keep the flame on low.
6. Achieving the Right Consistency (Soft Ball Test)
This is the most critical step. Cook the jaggery syrup until it starts to foam. To check if it’s ready, drop a tiny bit of syrup into a bowl of cold water. If it forms a soft, non-sticky ball that you can flatten with your fingers, the syrup is ready. If it’s too soft, cook for another minute.
7. Flavoring the Base
Once the syrup reaches the soft-ball stage, add the cardamom powder and the remaining 1 tsp of ghee. The ghee gives the laddus a beautiful shine and prevents them from becoming too sticky.
8. Mixing the Ingredients
Turn off the gas stove immediately. Pour in the roasted sesame seeds and crushed peanuts. Mix rapidly using a spatula so that every seed is coated with the jaggery syrup. You must work quickly before the mixture cools down.
9. Preparing to Bind
Grease your palms with a little ghee or water. While the mixture is still warm/hot, take a small portion (about a tablespoon) in your hand. Caution: The mixture is hot, so be careful, but do not let it cool completely, or it will crumble.
10. Shaping the Laddus
Gently press and roll the mixture between your palms to form a round ball. If the mixture in the pan hardens before you finish, put it back on a very low flame for 30 seconds to soften it again.
Storage & Serving Tips
Cooling: Let the laddus cool completely on a tray for 2–3 hours.
Storage: Store them in an airtight glass jar. They stay fresh for up to 1 month.
Softness Tip: If you want very soft laddus, use “Antic” jaggery or soft block jaggery instead of the hard crystalline variety.
Disclaimer:
All content on this food blog is for informational purposes only. Recipes, tips, and nutritional information are based on personal experience and research and are not a substitute for professional medical or dietary advice. Results may vary, and readers should consider allergies, health conditions, and individual needs before trying any recipe. The blog owner is not responsible for any outcomes resulting from the use of this information.