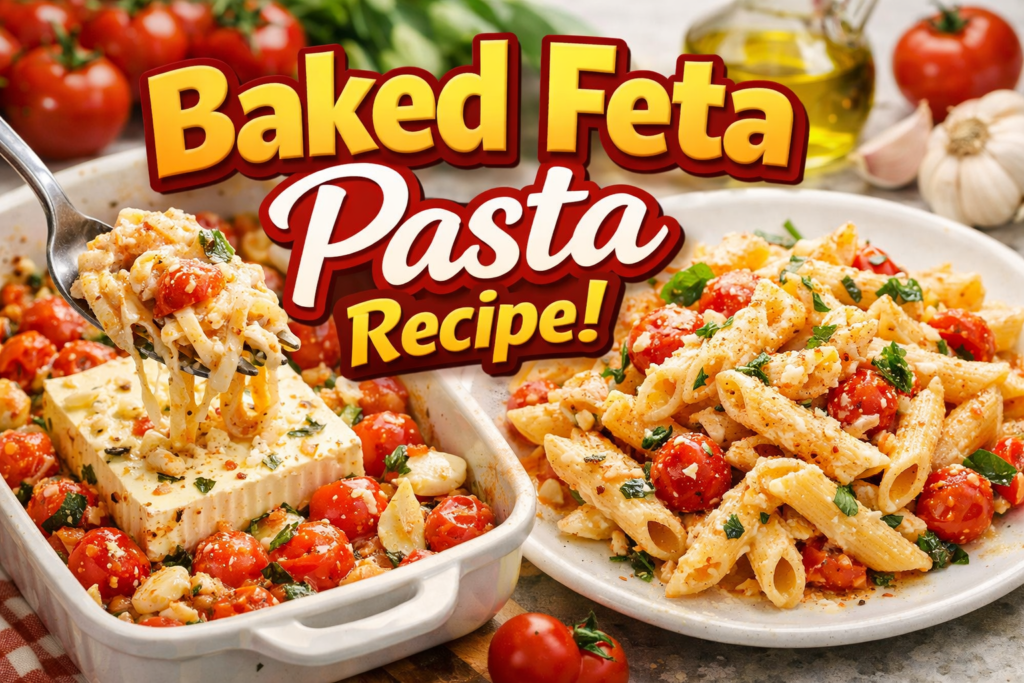
Baked feta pasta recipe :
04, January 2026. By -Kaushik
Baked Feta Pasta, a dish that gained worldwide fame for its simplicity and incredibly creamy texture. It essentially makes its own sauce in the oven while you boil the pasta.
Here is the step-by-step guide (Banane ki Vidhi) to making this delicious meal.
Ingredients You’ll Need
Pasta: 400g–500g (Penne, Fusilli, or Farfalle work best)
Cherry Tomatoes: 2–3 pints (about 500g–700g)
Feta Cheese: 1 block (200g) — Do not use crumbled feta; it won’t melt the same way.
Olive Oil: ½ cup (extra virgin is preferred)
Garlic: 4–5 cloves, minced or smashed
Spices: Red chili flakes, dried oregano, salt, and black pepper
Fresh Basil: A handful of chopped leaves for garnish
Step-by-Step Instructions (Steps 1–10)
Step 1: Preheat Your Oven
The first step to a perfect bake is a hot oven. Preheat your oven to 200°C (400°F). While the oven is heating up, gather all your ingredients so you can work efficiently.
Step 2: Prepare the Baking Dish
Take a medium-to-large oven-safe baking dish or casserole. Add your washed cherry tomatoes into the dish. If some tomatoes are particularly large, you can slice them in half, but keeping them whole is better as they “pop” during the baking process, releasing their juices to form the sauce.
Step 3: Add the Feta Block
Clear a small space in the very center of the tomatoes and place the whole block of feta cheese right there. This central placement ensures the cheese melts evenly and absorbs the flavors of the surrounding tomatoes and oil.
Step 4: Season and Oil
Drizzle the ½ cup of olive oil over the tomatoes and the feta block. Sprinkle the minced garlic, dried oregano, red chili flakes, and a pinch of black pepper over everything. Note: Be very careful with salt. Feta is naturally very salty, so you likely won’t need much extra salt in the sauce.
Step 5: The First Bake
Place the baking dish in the preheated oven. Bake for 30–35 minutes. You are looking for the cherry tomatoes to burst and shrivel slightly, and the top of the feta cheese to turn a light golden brown.
Step 6: Boil the Pasta
While the tomatoes and feta are roasting, bring a large pot of salted water to a boil. Cook your pasta according to the package instructions until it is al dente (firm to the bite).
Step 7: Save the Pasta Water
Before draining the pasta, scoop out about ½ cup of the starchy pasta water and set it aside. This is a “pro-tip” secret; the starch in the water helps bind the sauce to the pasta later if the mixture is too thick.
Step 8: The Transformation
Once the 35 minutes are up, remove the baking dish from the oven. Using a fork or a sturdy spoon, immediately smash the softened feta and the roasted tomatoes together. Stir vigorously until the cheese and tomato juices emulsify into a rich, creamy, orange-tinted sauce.
Step 9: Combine and Toss
Add the cooked pasta directly into the baking dish with the sauce. Toss everything together until every piece of pasta is thoroughly coated. If the sauce feels too thick or “tight,” add a splash of the reserved pasta water and stir again to reach your desired creaminess.
Step 10: Final Garnish and Serve
Fold in a handful of fresh, chopped basil leaves. The heat from the pasta will slightly wilt the basil, releasing its aroma. Taste one last time for seasoning, and serve immediately while it is hot and velvety.
Success Tips for the Perfect Pasta
Cheese Quality: High-quality Greek feta (made with sheep/goat milk) melts better than cow’s milk versions.
Don’t Skimp on Oil: It might seem like a lot of olive oil, but that is what creates the emulsion with the cheese.
Vegetable Add-ins: If you want more nutrition, you can stir in fresh baby spinach at Step 9; the heat will wilt it instantly.
Pro Tip: If you like a smoky flavor, try roasting the garlic cloves whole with their skins on, then squeezing the “roasted garlic paste” into the sauce at Step 8!
Disclaimer :
All content on this food blog is for informational purposes only. Recipes, tips, and nutritional information are based on personal experience and research and are not a substitute for professional medical or dietary advice. Results may vary, and readers should consider allergies, health conditions, and individual needs before trying any recipe. The blog owner is not responsible for any outcomes resulting from the use of this information.
