Crispy Aloo and Murmura Vada Recipe : The Ultimate Tea-Time Snack
10, January 2026. By -Kaushik
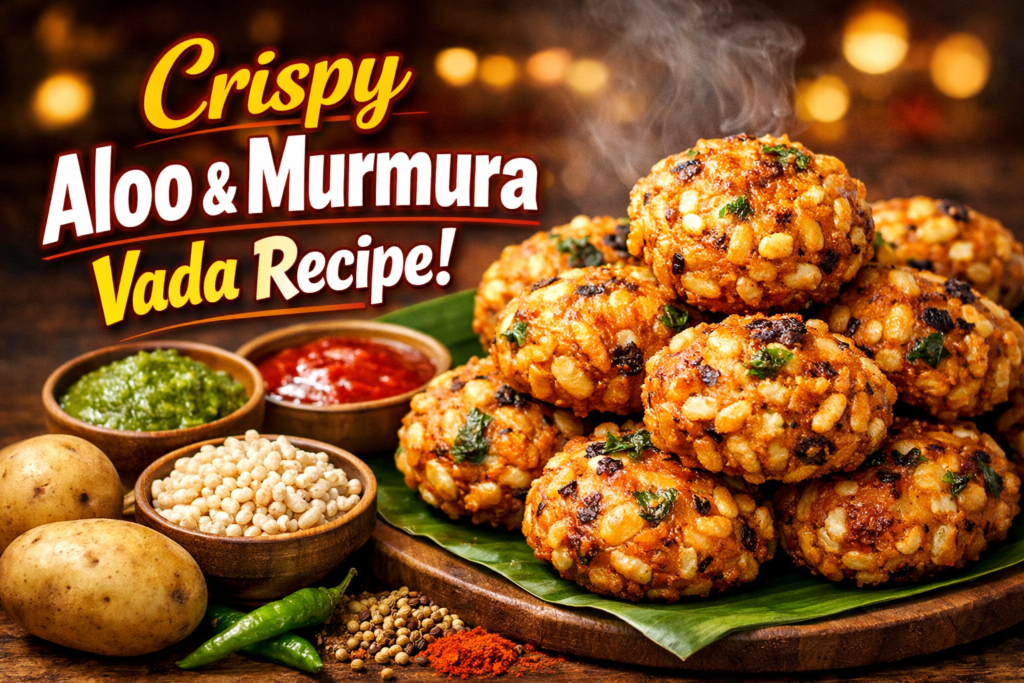
If you are looking for a snack that combines the crunch of puffed rice with the comfort of mashed potatoes, look no further. Aloo and Murmura Vadas (Potato and Puffed Rice Fritters) are a genius way to transform simple pantry staples into a gourmet appetizer.
Commonly known as Murmura Cutlets or Puffed Rice Vadas, this dish is celebrated for its unique texture—shatteringly crisp on the outside and soft, spiced, and savory on the inside. It’s an ideal recipe for rainy evenings, sudden guests, or even as a creative lunchbox treat for kids. Unlike traditional flour-based snacks, the inclusion of puffed rice makes these vadas lighter and gives them a distinct “crunch” that lasts longer.
Key Ingredients (Integrations)
To make approximately 10-12 medium-sized vadas, you will need:
Puffed Rice (Murmura): 3 cups (cleaned and washed)
Potatoes (Aloo): 3 medium-sized (boiled and mashed)
Gram Flour (Besan): 3-4 tablespoons (for binding)
Green Chilies: 2-3 finely chopped
Ginger Paste: 1 teaspoon
Fresh Coriander: 1/2 cup finely chopped
Spices: 1 tsp Cumin seeds, 1/2 tsp Turmeric powder, 1 tsp Red chili powder, 1 tsp Garam masala.
Amchur (Dried Mango Powder): 1 tsp for a tangy kick.
Salt: To taste.
Oil: For deep or shallow frying.
Step-by-Step Preparation Method (Banane ki Vidhi)
Follow these 10 simple steps to achieve the perfect golden-brown vadas:
Step 1: Prepare the Murmura
Place the 3 cups of puffed rice in a large colander. Rinse them under running water for about 30 seconds. Do not soak them in a bowl of water, or they will become too mushy. Let the excess water drain out completely. The puffed rice should be soft but hold its shape.
Step 2: Prepare the Potatoes
While the murmura drains, boil your potatoes until they are fork-tender. Peel them and mash them thoroughly in a large mixing bowl. Ensure there are no large lumps, as this helps in better binding.
Step 3: Combine the Base
Add the softened puffed rice into the bowl with the mashed potatoes. Using your hands, mix them together. The moisture from the potatoes and the dampness of the murmura will start forming a dough-like consistency.
Step 4: Add Aromatics
Incorporate the finely chopped green chilies, ginger paste, and a generous handful of fresh coriander leaves. The coriander adds a burst of freshness that cuts through the starchiness of the potato.
Step 5: Seasoning the Mixture
Add the dry spices: salt, turmeric, red chili powder, garam masala, and amchur powder. If you don’t have amchur, a squeeze of half a lemon works perfectly to add that essential “chatpata” (tangy) flavor.
Step 6: The Binding Agent
Add the Besan (Gram Flour) one tablespoon at a time. The goal is to bind the ingredients so they don’t break apart in the oil. If the mixture feels too sticky, you can add a little more besan or even a tablespoon of rice flour for extra crispiness.
Step 7: Resting the Dough
Give the mixture a final knead. Let it rest for about 5 to 10 minutes. This allows the puffed rice to absorb the spices and the flour to settle, making the vadas easier to shape.
Step 8: Shaping the Vadas
Grease your palms with a little oil. Take a lemon-sized portion of the mixture and roll it into a ball. Flatten it gently between your palms to create a disc or a “vada” shape. You can also make them cylindrical like croquettes.
Step 9: Frying to Perfection
Heat oil in a heavy-bottomed pan over medium heat. Once the oil is hot, carefully slide the vadas in. Do not overcrowd the pan. Fry them on medium heat; if the heat is too high, they will brown outside but remain raw inside. Flip them gently until both sides are a deep golden brown.
Step 10: Draining and Serving
Remove the vadas using a slotted spoon and place them on a paper towel to soak up any excess oil. Serve them hot and steaming.
Pro Tips for Success
Texture Check: If your vadas are falling apart in the oil, your mixture has too much moisture. Add a little more roasted besan or breadcrumbs to fix the consistency.
Healthier Version: You can air-fry these at 180°C for 15-20 minutes or shallow fry them on a non-stick tawa with minimal oil.
Disclaimer :
All content on this food blog is for informational purposes only. Recipes, tips, and nutritional information are based on personal experience and research and are not a substitute for professional medical or dietary advice. Results may vary, and readers should consider allergies, health conditions, and individual needs before trying any recipe. The blog owner is not responsible for any outcomes resulting from the use of this information.