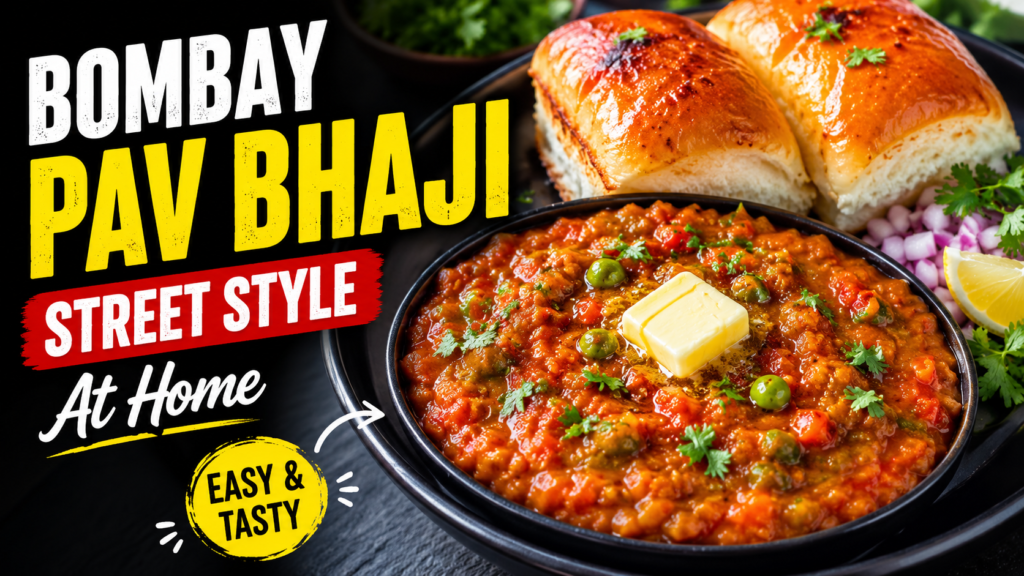
Authentic Bombay Style Pav Bhaji Recipe – Street Food Magic at Home
By Kaushik Brahmakshatriya
Published on 29 June 2026.
Bombay Style Pav Bhaji Recipe
Few dishes in India carry as much emotion, nostalgia, and sheer flavor as a well-made Bombay-style Pav Bhaji. Born on the bustling streets of Mumbai (formerly Bombay), this dish is a beautiful marriage of mashed spiced vegetables served with butter-toasted dinner rolls. Whether you are craving a quick weeknight dinner or planning a weekend feast, this recipe brings the true spirit of Mumbai’s street carts right into your kitchen.
What Makes Bombay Pav Bhaji Unique?
Unlike regular vegetable preparations, Bombay Pav Bhaji has a distinct character. The bhaji (vegetable mash) is cooked on a large iron griddle with generous amounts of butter, a signature blend of pav bhaji masala, and slow mashing that creates a thick, deeply flavored base. The pav (bread rolls) are toasted on the same buttery griddle until golden-crisp on the outside but soft inside. That combination is what sets this street food apart from anything you can find elsewhere.
Ingredients at a Glance
Main Ingredients
| Ingredient | Quantity | Purpose |
| Potatoes (boiled) | 3 medium | Base of the bhaji |
| Cauliflower florets | 1 cup | Body and texture |
| Green peas | ½ cup | Sweetness and color |
| Capsicum (finely chopped) | 1 medium | Freshness and crunch |
| Tomatoes (chopped) | 3 large | Tanginess and gravy |
| Onion (finely chopped) | 2 medium | Flavor base |
| Butter | 4 tbsp | Richness and aroma |
| Pav Bhaji Masala | 2 tsp | Signature spice blend |
| Red chili powder | 1 tsp | Heat |
| Salt | To taste | Balance |
| Pav (dinner rolls) | 8 pieces | Serving base |
Step-by-Step Cooking Method
Step 1 – Boil and Prep the Vegetables
Pressure cook potatoes, cauliflower, and green peas together until completely soft. Drain and set aside. Do not discard the cooking water — you will use it to adjust the bhaji consistency later.
Step 2 – Build the Masala Base
Heat 2 tablespoons of butter in a wide, heavy-bottomed pan or tawa over medium-high flame. Add finely chopped onions and sauté until they turn translucent and begin to caramelize slightly at the edges. Add chopped capsicum and cook for 2 minutes until slightly softened. Next, add chopped tomatoes and cook until the mixture becomes a thick, oil-releasing paste — this takes about 8–10 minutes and is the foundation of a great bhaji.
Step 3 – Add Spices
Add red chili powder, pav bhaji masala, and salt. Stir everything well and cook the spices into the tomato-onion base for 2–3 minutes. This step is crucial — raw masala will dull the flavor.
Step 4 – Mash and Simmer
Add the boiled vegetables directly into the pan. Using a potato masher, mash everything together vigorously until a rough but cohesive paste forms. Add reserved vegetable water little by little to reach your preferred consistency — thick enough to sit on pav without dripping, but not dry. Simmer on low heat for 5–7 minutes, stirring occasionally. Drop in the remaining butter and mix well.
Step 5 – Toast the Pav
Slice pav rolls horizontally. On a hot tawa, melt butter and toast the pav cut-side down until golden and crisp. Press gently for even browning.
Serve the hot bhaji topped with a cube of butter, finely chopped raw onion, a squeeze of lemon juice, and fresh coriander leaves alongside the golden pav.
Nutrition Overview (Per Serving Approx.)
Nutritional Information
| Nutrient | Approximate Value | Notes |
| Calories | 320–360 kcal | Includes 2 pav + bhaji |
| Carbohydrates | 48 g | Mainly from potatoes and pav |
| Protein | 9 g | From peas and vegetables |
| Fat | 12 g | Primarily from butter |
| Fiber | 6 g | From mixed vegetables |
| Sodium | 580 mg | Varies with salt and butter used |
Pro Tips for the Best Pav Bhaji
Common Mistakes vs. Correct Techniques
| Common Mistake | Why It Matters | Right Approach |
| Skipping the mashing step | Leaves chunky, uneven texture | Mash thoroughly while cooking |
| Using low-quality masala | Flat, one-dimensional flavor | Use fresh, good-brand pav bhaji masala |
| Adding too much water early | Makes bhaji watery | Add water gradually and adjust slowly |
| Not caramelizing onions properly | Weak base flavor | Cook onions until golden, not just soft |
| Toasting pav without butter | Dry, pale rolls | Always use butter on the tawa |
Frequently Asked Questions (FAQ)
Q1. Can I make Pav Bhaji without butter?
Yes, you can substitute butter with oil for a dairy-free version, though the dish will lose its signature richness. Vegan butter works as a close alternative.
Q2. What vegetables can I add to Pav Bhaji?
Beyond the base vegetables, you can include beetroot (for deep red color), carrots, or French beans. Avoid fibrous vegetables that won’t mash smoothly.
Q3. Can I prepare the bhaji in advance?
Absolutely. The bhaji actually tastes better the next day as the spices meld overnight. Store it refrigerated for up to 2 days and reheat with a little butter and a splash of water.
Q4. What is the difference between Pav Bhaji Masala and regular garam masala?
Pav Bhaji Masala has a distinct blend that includes dried mango powder (amchur), coriander, cumin, black pepper, and dried chilies in specific proportions designed for this dish. Regular garam masala will not replicate the same flavor.
Q5. Is Bombay Pav Bhaji healthy?
It is a nutritious dish loaded with mixed vegetables. To make it healthier, reduce butter quantity, use whole-grain pav, and increase the proportion of cauliflower and peas relative to potato.
Bombay-style Pav Bhaji is more than just food — it is a feeling. The sizzle of butter on the tawa, the aroma of freshly toasted pav, and that first bite of deeply spiced bhaji make every serving a small celebration. Try this recipe at home and bring Mumbai’s most beloved street food to your dining table.
