Mumbai-Style Dal Fry Recipe Inspired by Bhagat Tarachand – Creamy, Rich & Easy to Make
By Kaushik Brahmakshatriya
Published On 07 April 2026.
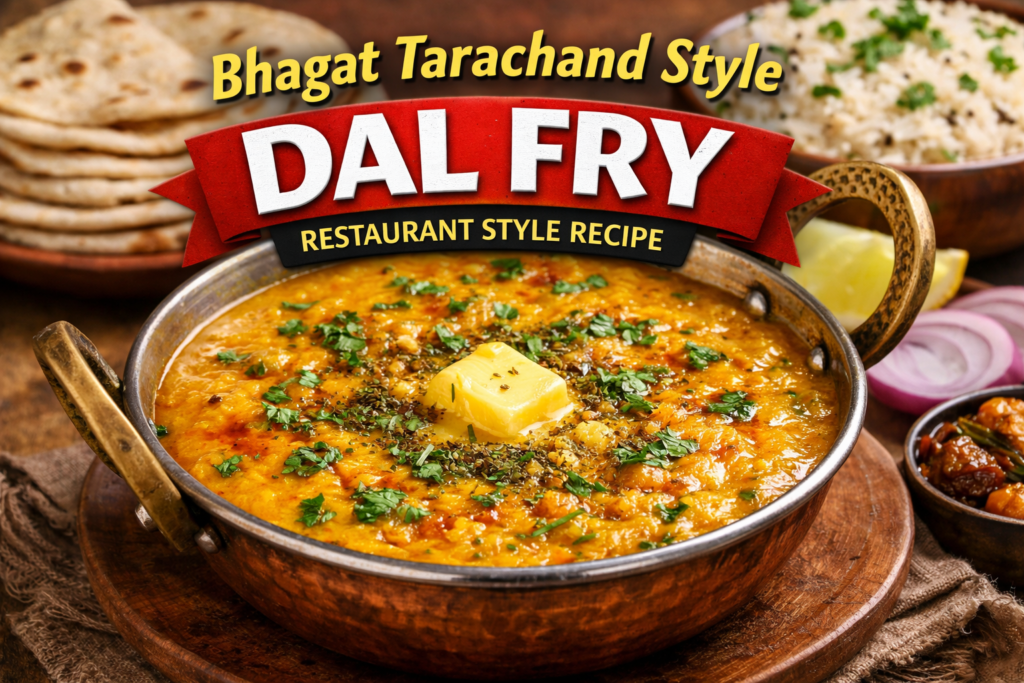
Mumbai’s food culture is incomplete without its legendary eateries, and one dish that truly stands out is the famous dal fry served at the iconic Bhagat Tarachand. Known for its rich texture, buttery finish, and bold Sindhi flavors, this dal fry has become a comfort food favorite for locals and tourists alike.
What Makes Mumbai-Style Dal Fry Unique?
This dal fry is not your everyday lentil dish. It is:
* Smooth and slightly thick in texture
* Loaded with ghee and butter for richness
* Balanced with mild spices and tangy notes
* Finished with aromatic herbs like kasuri methi
Its simplicity combined with indulgence is what makes it unforgettable.
Ingredients You’ll Need
Main Dal Preparation:
* 1 cup split pigeon peas (toor dal)
* 2–3 cups water
* ½ teaspoon turmeric powder
* Salt as per taste
Tadka Base:
* 2 tablespoons ghee
* 1 tablespoon butter
* 1 teaspoon cumin seeds
* A pinch of hing (asafoetida)
* 1 finely chopped onion
* 1 tablespoon ginger-garlic paste
* 2 tomatoes (pureed or finely chopped)
* 2 green chilies (optional)
Spice Mix:
* 1 teaspoon red chili powder
* 1 teaspoon coriander powder
* ½ teaspoon cumin powder
* ½ teaspoon garam masala
Finishing Touch:
* 1 tablespoon fresh cream
* 1 teaspoon crushed kasuri methi
* Fresh coriander leaves
* 1 teaspoon lemon juice
Step-by-Step Cooking Method
1.Cook the Lentils
Rinse the toor dal thoroughly and pressure cook it with turmeric, salt, and water until soft. Once done, mash it lightly to create a creamy base.
2.Prepare the Flavor Base
Heat ghee and butter together in a deep pan. Add cumin seeds and let them crackle, followed by a pinch of hing for aroma.
Add chopped onions and sauté until they turn golden brown. This stage is essential for developing depth in flavor.
3.Build the Masala
Stir in ginger-garlic paste and cook briefly. Then add tomatoes and green chilies. Cook until the mixture thickens and starts releasing oil.
4.Add Dry Spices
Mix in red chili powder, coriander powder, cumin powder, and salt. Let the spices cook for a couple of minutes to enhance their flavor.
5.Combine Dal and Masala
Add the cooked dal to the pan and mix thoroughly. Adjust the consistency with water if needed.
Allow it to simmer on low heat for about 10 minutes so the flavors blend beautifully.
6.Final Touch for Authentic Taste
Add garam masala, kasuri methi, and fresh cream. Stir gently and cook for another minute.
Finish with lemon juice and garnish with coriander leaves.
Pro Tips for Restaurant-Style Flavor
* Always use ghee + butter combination for richness
* Slightly mash the dal for that signature creamy texture
* Simmer the dal longer for deeper flavor infusion
* Add cream at the end for a smooth finish
* A hint of lemon juice balances the richness perfectly
Best Ways to Serve This Dal Fry
This Mumbai-style dal fry pairs wonderfully with:
* Soft phulkas or chapati
* Steamed basmati rice
* Jeera rice
* Pav (for a street-style twist)
Add sliced onions, pickle, and a glass of chaas to complete the meal.
Health Benefits of Dal Fry
* High in plant-based protein
* Good source of dietary fiber
* Provides essential nutrients like iron and magnesium
* Keeps you full and energized
You can adjust the quantity of ghee and butter to make it healthier without compromising too much on taste.
Final Thoughts
This Mumbai-inspired dal fry recipe brings you the same comforting and indulgent experience you would expect from a classic restaurant meal. With simple ingredients and easy steps, you can recreate a dish that feels both homely and luxurious.
Perfect for everyday meals or special dinners, this dal fry is sure to impress your family and guests. Try it once, and it might just become a regular part of your menu!