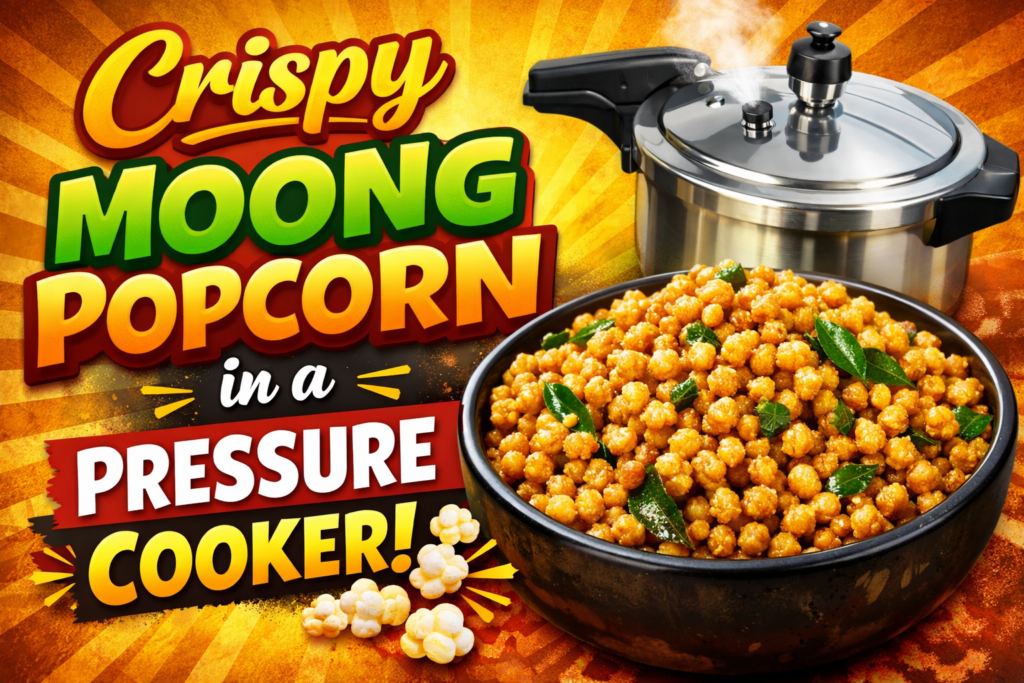
How to Make Crispy Moong Popcorn in a Pressure Cooker
By Kaushik. 08, February 2026
Moov Over,buttery corn! There is a new snack in town that is taking the healthy living community by storm: Moong Popcorn. If you love the crunch of traditional popcorn but want a protein-packed, gluten-free alternative, roasted green moong dal (mung bean) is your best friend. While “popcorn” is a bit of a nickname—since the beans don’t technically “explode” like corn kernels—they roast into airy, crispy, and incredibly addictive nuggets.
Best of all? You don’t need an air fryer or a fancy dehydrator. You can make this right in your pressure cooker. Here is how to master this guilt-free snack.
Why Moong Popcorn Is a Better Choice
Before we jump into the kitchen, let’s talk about why this snack is a winner:
* High Protein: Unlike corn, moong dal is a powerhouse of plant-based protein.
* Low Calorie: When roasted with minimal oil, it’s a weight-loss-friendly snack.
* Long Shelf Life: You can make a big batch and store it for weeks.
Ingredients
Green Moong Dal (Whole): 1 cup
Oil or Ghee: 1 tablespoon
Salt: To taste
Turmeric Powder: ¼ teaspoon
Chaat Masala: ½ teaspoon (for that tangy kick)
Kashmiri Red Chili Powder: ¼ teaspoon (optional)
Step-by-Step Recipe
1. Preparation (The Soaking Secret)
To get that “pop” and crunch, you cannot skip the soaking. Wash the moong dal thoroughly and soak it in water for at least 4 to 6 hours (or overnight). This softens the skin and allows the heat to penetrate the center, making it crispy rather than rock-hard.
2. Drying the Dal
After soaking, drain the water completely. Spread the dal on a clean kitchen towel and pat it dry. It should be damp but not dripping.
Pro-tip: Let it air dry for 15 minutes under a fan; drier dal leads to a crunchier snack.
3. Setting Up the Pressure Cooker
We aren’t using the cooker for “pressure” in the traditional sense.
Remove the Whistle (Weight) and the Gasket (Rubber Ring) from the lid. This allows the cooker to act like an oven, circulating dry heat.
Place the cooker on medium heat and add the oil/ghee.
4. Roasting to Perfection
Once the oil is hot, add the dried moong dal, salt, and turmeric. Stir well to coat every grain.
Close the lid (without the whistle and gasket).
Keep the flame on medium-low.
Every 3-4 minutes, open the lid and give it a good stir. You will hear a slight crackling sound—this is the moisture leaving the beans.
5. The Finishing Touch
After about 15-20 minutes, the beans will turn a deep golden brown and feel light when you stir them. Take one out (carefully!), let it cool for a second, and test the crunch. Once they are perfectly crispy, turn off the heat. Sprinkle the chaat masala and chili powder while they are still warm so the spices stick.
Must-Try Flavor Combinations
The beauty of Moong Popcorn is its versatility. Why stick to just salt?
* Garlic Herb: Add garlic powder and dried oregano.
NToss with spicy peri-peri seasoning for a Nando’s vibe.
* Cheese: Use nutritional yeast or cheese powder for a “movie theater” flavor.
Storage Tips
Let the Moong Popcorn cool down completely before moving it to a container. If you store it while warm, the steam will make it soggy. Store it in an airtight glass jar, and it will stay crunchy for up to 3 weeks!
Conclusion
Making Moong Popcorn in a pressure cooker is a game-changer for anyone tired of processed chips. It’s crunchy, savory, and actually good for you. It’s the perfect companion for your evening tea or your next Netflix binge.
Disclaimer :
The recipes and nutritional information shared on this Blog are for informational purposes only. While I strive to provide accurate instructions, results may vary based on individual cooking skills, equipment, and ingredient quality.